How to Connect Notion to Zapier and Automate Your Workflow
Most teams waste hours each week manually transferring data between Notion and other apps. By connecting Notion to Zapier, you can automate database updates, task assignments, and form processing - freeing up valuable time for strategic work. This guide walks through the exact steps to set up this powerful integration.
Why Connect Notion to Zapier?
Notion has become the central hub for many teams' knowledge, projects, and workflows - but its true power emerges when connected to other tools. Manual data entry between apps creates bottlenecks, errors, and wasted time. A McKinsey study found knowledge workers spend 19% of their workweek just searching for and gathering information across disconnected systems.
Zapier bridges this gap by creating automated workflows (Zaps) between Notion and thousands of other apps. When configured properly, these integrations can eliminate up to 80% of repetitive data transfer tasks while ensuring information stays synchronized across all your tools.
Real-world impact: A marketing agency using Notion-Zapier automations reduced their weekly administrative work by 12 hours while improving data accuracy across client projects.
Prerequisites Before Connecting
Before linking Notion and Zapier, ensure you have these three elements ready:
- Admin access to the Notion workspace you want to connect (personal or team)
- A Zapier account (free plan works for basic integrations)
- Clear automation goals - know which databases or pages need integration
Pro tip: Audit your current Notion usage for 2-3 days to identify the most repetitive copy-paste tasks between apps. These make the best candidates for your first automations.
Step 1: Create Your Zap
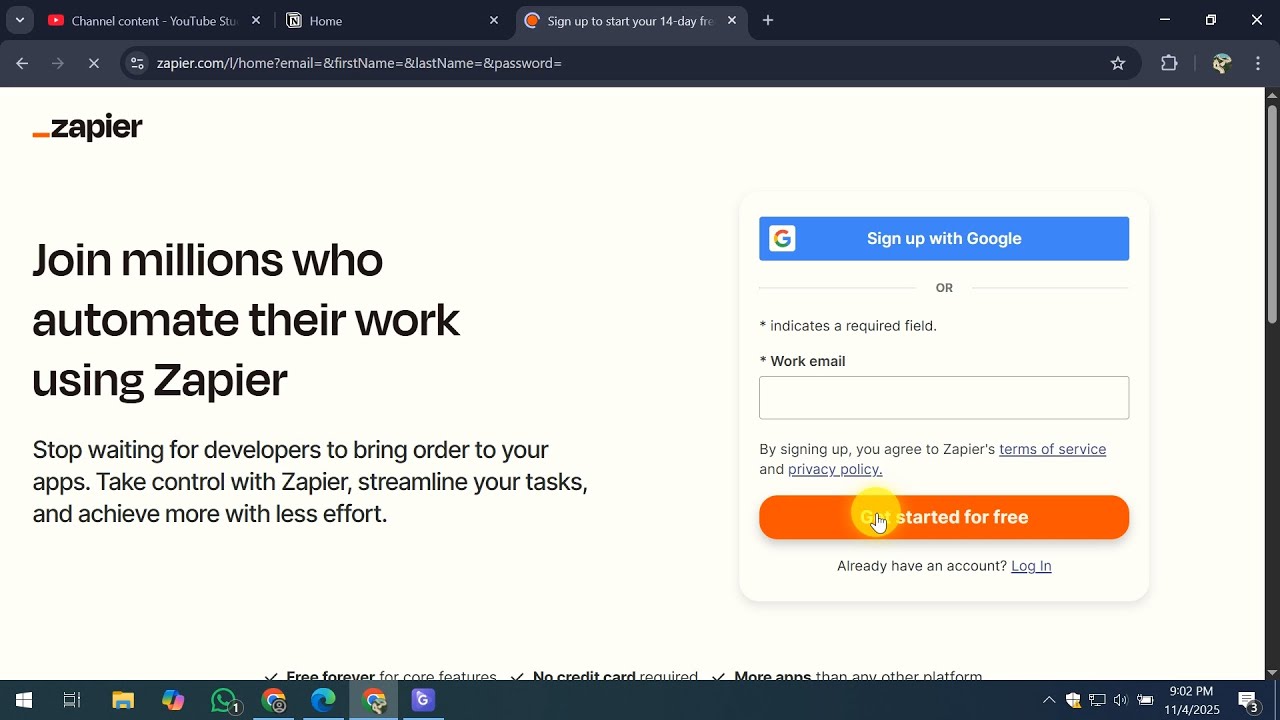
Begin by logging into your Zapier account and navigating to the dashboard. Look for the "Create Zap" button - typically located in the top navigation or left sidebar. This starts a new automation workflow.
Zapier's interface will guide you through building what they call a "Zap" - an automated connection between apps that triggers actions based on specific events. Think of it as "When X happens in Notion, do Y in another app" (or vice versa).
Step 2: Choose Your Notion Trigger
In the Zap editor, you'll first select Notion as your trigger app. Type "Notion" into the search bar and select its icon when it appears. You'll then choose which specific event should start your automation.
Common Notion triggers include:
- New database item added
- Page created in specific workspace
- Database property changed
- Page content updated
For our example, we'll select "New Database Item" to trigger whenever a row is added to a particular Notion database.
Step 3: Connect Your Notion Account
After selecting your trigger, Zapier will prompt you to connect your Notion account. Click "Sign in to Notion" which opens an OAuth authorization window.
Important: Carefully review the permissions being requested. You can choose to grant access to specific workspaces rather than your entire Notion account if preferred. This follows the principle of least privilege for better security.
Once authorized, you'll be redirected back to Zapier where your accounts will now show as connected. This secure link remains active until you manually revoke it.
Step 4: Set Trigger Details
With your accounts connected, you'll now configure the specific trigger details. If you chose "New Database Item," you'll:
- Select the exact Notion database to monitor
- Choose which properties to make available to Zapier
- Set any filters (e.g., only trigger for items with specific tags)
This level of granularity ensures your automation only runs when truly needed, preventing unnecessary notifications or data transfers.
Step 5: Test the Connection
Before completing your Zap, always test the connection. Zapier will attempt to find a recent example of your trigger event (like the last database item added) to verify everything works.
A successful test confirms that:
- Zapier can access your Notion data
- The trigger event is correctly identified
- All selected properties transfer properly
If the test fails, double-check your database selections and permissions. Common fixes include adjusting property visibility in Notion or reconnecting your account.
Powerful Notion-Zapier Automations
With your connection established, consider these high-impact automations:
Top 3 Time-Saving Zaps:
- Create Slack messages when urgent tasks are added to Notion
- Generate Google Calendar events from Notion database deadlines
- Add new CRM leads to a Notion tracking database
For advanced users, multi-step Zaps can transform data between formats, add conditional logic, and trigger actions across multiple apps based on a single Notion update.
Watch the Full Tutorial
For visual learners, our video tutorial demonstrates the exact steps to connect Notion and Zapier, including troubleshooting common connection issues (like permission errors at 2:45).
Key Takeaways
Connecting Notion to Zapier transforms your workspace from a static repository into a dynamic hub that actively communicates with your other tools. The initial setup takes less than 15 minutes but pays dividends in saved time and reduced errors.
In summary:
- Zapier bridges Notion with 5,000+ apps through secure automation
- Start with simple triggers like new database items or page updates
- Always test connections before activating full automation
- Build complexity gradually as you become comfortable with the platform
Frequently Asked Questions
Common questions about this topic
The most powerful Notion-Zapier automations include syncing new database items to task managers, creating pages from form submissions, sending notifications when deadlines approach, and archiving completed items.
Businesses save an average of 5-7 hours weekly by automating these repetitive tasks between Notion and other apps. The key is identifying your team's most frequent manual data transfers.
- Marketing teams automate content calendars to social schedulers
- Sales teams sync CRM updates to Notion deal trackers
- HR departments connect applicant tracking systems to Notion databases
No coding is required to connect Notion with Zapier. The visual interface guides you through selecting triggers and actions using dropdown menus and simple forms.
However, some advanced automations may benefit from basic understanding of API concepts. Most users can set up basic integrations in under 15 minutes without technical knowledge by following the step-by-step wizard.
- Zapier templates provide pre-built workflows for common use cases
- The platform offers extensive documentation and community support
- Simple automations rarely require any code modifications
The connection uses OAuth 2.0 for secure authentication, the same protocol used by major platforms like Google and Facebook. You control exactly which Notion workspaces Zapier can access and what permissions it has.
Data transmitted between the services is encrypted in transit. For sensitive information, you can limit access to specific databases rather than entire workspaces, and revoke access at any time.
- Zapier is SOC 2 Type II compliant for data security
- Notion provides detailed audit logs of all integrations
- Permissions can be customized per automation
Notion's native integrations are limited to a few major apps like Slack and Google Calendar, with basic functionality. Zapier connects Notion to over 5,000 apps with more customization options and advanced features.
While native integrations are simpler for basic needs, Zapier offers multi-step workflows, conditional logic ("if this then that"), and data transformations between apps. The tradeoff is slightly more setup complexity for significantly more power.
- Native: Simpler setup, limited to major apps
- Zapier: More apps, advanced features, greater flexibility
- Many teams use both for different use cases
Yes, Zapier can both add new items to Notion databases and update existing entries. This two-way synchronization keeps your Notion workspace current with changes happening in other apps.
Common use cases include automatically creating database rows from form submissions, updating status fields when tasks are completed elsewhere, and syncing data between Notion and CRMs or project management tools. The key is mapping the correct field types between systems.
- Supports all standard Notion property types
- Can update existing pages/database items
- Works with both personal and team workspaces
On Zapier's free plan, you can create up to 5 single-step automations (Zaps) between Notion and other apps, with limited runs per month. Paid plans allow unlimited Zaps with multi-step workflows and higher usage limits.
Most small businesses find 10-15 well-designed automations can handle their core Notion integration needs. The constraint is usually identifying valuable use cases rather than technical limits.
- Free plan: 5 Zaps, 100 tasks/month
- Starter plan ($19.99/month): 20 Zaps, 750 tasks
- Professional plan ($49/month): Unlimited Zaps, 2,000 tasks
Common mistakes include selecting the wrong trigger event, not testing the connection properly, granting overly broad workspace permissions, and not setting up proper error notifications.
Always test with sample data before activating a new automation and monitor the first few runs to catch any issues early. About 40% of failed Zaps result from incorrect field mappings or permission settings that could be caught during testing.
- Test with real data before going live
- Start with limited permissions, expand as needed
- Set up error notifications to catch issues quickly
GrowwStacks specializes in building custom Notion-Zapier automations tailored to your specific workflows. Our team will analyze your processes, design efficient automations, handle the technical setup, and provide training.
We offer a free 30-minute consultation to discuss your automation goals and identify the highest-impact connections between Notion and your other business tools. Typical engagements save clients 8-15 hours per week on manual work.
- Custom automation workflows built for your business
- Integration with your existing tools and platforms
- Ongoing support and optimization
Ready to Automate Your Notion Workflows?
Every hour spent manually transferring data between apps is an hour lost from growing your business. Our automation experts will design and implement custom Notion-Zapier integrations that save your team 10+ hours weekly.