Why Self-Host n8n?
Businesses waste an average of $1,200 annually per user on automation tools when they could achieve identical results for free. The cloud version of n8n costs $20/month per user, but the self-hosted version delivers the same enterprise capabilities at zero cost.
Self-hosting gives you complete control over your automation platform with no usage limits or subscription fees. Unlike cloud services that restrict workflow executions or charge extra for premium connectors, your self-hosted instance runs entirely on your terms.
Key benefit: The self-hosted version allows access to premium features through a free license key that unlocks enterprise capabilities like workflow sharing, execution logs, and advanced authentication.
Method 1: Install with npm
The simplest way to run n8n permanently is through Node.js package manager (npm). This method takes under 10 minutes and requires minimal technical knowledge.
Step 1: Install Node.js
Download the Node.js installer from nodejs.org (LTS version recommended). Run the setup wizard with default settings - no special configuration required.
Step 2: Verify Installation
Open terminal or command prompt and run:
node -v This should display the installed version number confirming successful.
Step 3: Install n8n
Run this command to install globally:
npm install -g n8n The -g flag makes n8n available system-wide. Ignore any deprecated package warnings.
Step 4: Launch n8n
Start the server with:
n8n Access the interface at http://localhost:5678. First access requires creating a local account.
Pro tip: Use PM2 or similar process manager to keep n8n running permanently and auto-restart crashes.
Method 2: Install with Docker
For better isolation and easier updates, Docker provides containerized container running n8n. This method works on Windows, Mac, and Linux.
Step 1: Install Docker Desktop
Download Docker Desktop from docker.com and complete the installation wizard. Skip account creation when prompted.
Step 2: Pull n8n Image
In Docker Desktop, go to Images tab and search for n8nio/n8n. Click Pull to download the official image.
Step 3: Run Container
Click Run and set:
- Port: 5678
- Name: n8n (optional)
Leave other settings default and click Run.
Step 4: Access Interface
Find your running container in the Containers tab. Click the Open in Browser icon to access n8n at localhost:5678.
Container advantage: Docker isolates n8n from your main system and makes updates as simple as pulling a new image.
Unlocking Premium Features
Both installation methods give access to n8n's premium features through a completely free license. Here's how to claim yours:
Step 1: Create Local Account
When you first accessing n8n at localhost:5678, you'll be prompted to create an account. This step is mandatory for license activation.
Step 2: Complete Onboarding
Answer the initial setup questions about your use case. These help personalize the n8n team understand user needs.
Step 3: Request License
Navigate to Settings → License and click "Send me a free license key." You'll receive the key via email within minutes.
Step 4: Activate Premium
Paste the license key into your n8n instance to unlock all enterprise features permanently.
Commercial use allowed: The free license permits business use with no restrictions on users or workflows.
Method Comparison
Both installation methods deliver identical functionality but serve different use cases:
| Factor | npm | Docker |
|---|---|---|
| Installation Complexity | Simple | Moderate |
| System Requirements | Lower | Higher |
| Update Process | npm update -g n8n | Pull new image |
| Isolation | None | Full container |
| Best For | Quick testing | Production deployments |
Hybrid approach: Developers often start with npm for testing then migrate to Docker for production stability.
Remote Access Considerations
While n8n defaults to localhost access, businesses often need remote team collaboration. Here are secure ways to enable remote access:
Option 1: Cloud Deployment
Services like Savala (sponsor of the original video) offer one-click n8n deployment starting at $5/month. This provides:
- 24/7 uptime
- Auto-scaling
- Team access controls
Option 2: Reverse Proxy
Tools like NGINX or Traefik add SSL encryption and authentication:
- Free to implement
- Requires technical setup
- Requires static IP or DNS
Option 3: VPN Access
For occasional access without exposing your network:
- Tailscale or ZeroTier VPN
- SSH port forwarding
- Chrome Remote Desktop
Security first: Never expose n8n directly to the internet without authentication. The interface contains sensitive workflow data.
Watch the Full Tutorial
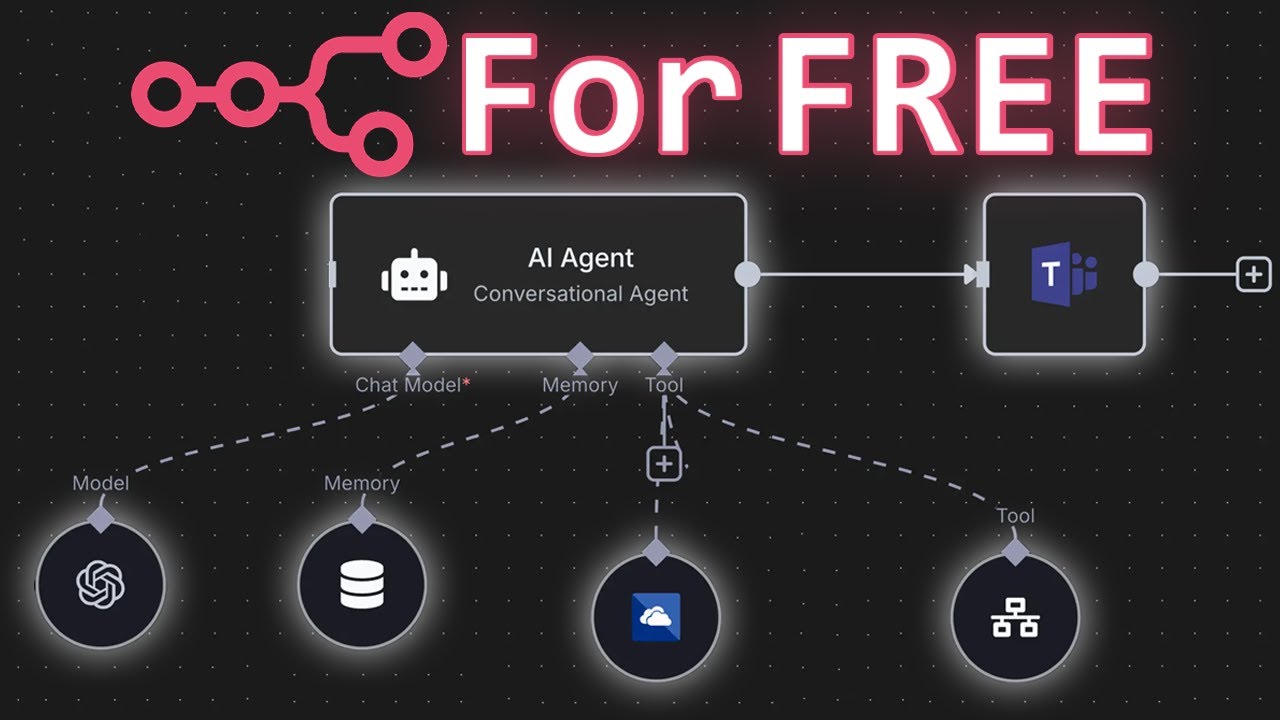
The original video demonstrates both installation methods in action, including the exact terminal commands and Docker settings shown on-screen at 2:15 timestamp.
Key Takeaways
Self-hosting n8n eliminates automation costs while providing enterprise-grade capabilities. These methods deliver identical functionality but cater to different technical comfort levels.
In summary: You can run unlimited workflows permanently without paying subscription fees, access premium features through a free license, and maintain complete control over your automation platform.
Frequently Asked Questions
Common questions about self-hosting n8n
Self-hosting n8n gives you complete control over your automation platform with no usage limits or subscription fees. You can run unlimited workflows permanently without paying for cloud hosting.
The self-hosted version also allows access to premium features through a free license key that unlocks enterprise capabilities like workflow sharing, execution logs, and advanced authentication.
- No user or execution limits
- Full data privacy
- Custom integrations
Basic technical comfort is helpful but not required. The npm method requires installing Node.js and running one terminal command. The Docker method provides a graphical interface through Docker Desktop that simplifies container management.
Both methods have straightforward setup processes under 15 minutes with our step-by-step guide. The most technical users can complete either installation successfully.
- npm method: 3 commands total
- Docker method: 4 clicks
- No coding required
The npm method installs n8n directly on your machine as a Node.js application, making it slightly easier to update. The Docker method runs n8n in an isolated container, which provides better security and easier portability between machines.
Both methods give identical functionality but Docker offers more deployment flexibility for production deployments. The npm version is simpler for initial testing and development.
- Same features
- Different management
- Identical interface
After installing n8n, create a local account when you first access the interface. This unlocks the option to request a free license key via email.
The license activates premium features like workflow sharing, execution logs, and enterprise authentication without requiring payment. The process takes under 5 minutes and the key delivery.
- Free for commercial use
- No expiration
- Unlimited users
Yes, but this requires additional configuration. By default, n8n runs on localhost (127.0.0.1). To access remotely, you'll need to set up port forwarding on your router or deploy to a cloud server.
For secure remote access, consider using a VPN or proxy server. Never expose the n8n interface directly to the internet without proper authentication controls.
- Cloud deployment easiest
- VPN recommended
- Reverse proxy recommended
n8n requires minimal resources - a machine with 2GB RAM and 2 CPU cores can handle moderate workflow loads. The Docker method needs about 500MB of disk space for the container.
For production use, allocate 4GB RAM and monitor resource usage as workflow complexity increases. The npm version has slightly lower overhead than Docker.
- Minimum: 2GB RAM
- Recommended: 4GB RAM
- Storage: 500MB+
n8n releases major updates every 2-3 months with new features and connectors. The npm method requires running 'npm update -g n8n' in terminal. Docker users need to pull the latest image and recreate their container.
Both methods typically take under 5 minutes to update. We recommending checking for updates quarterly unless you need specific new features.
- Quarterly updates sufficient
- Update takes <5 minutes
- Backup workflows first
GrowwStacks helps businesses implement automation workflows, AI integrations, and scalable systems tailored to their operations. Whether you need custom workflow deployment, cloud hosting configuration, or enterprise automation solutions, our team delivers turnkey implementations.
We handle the technical setup while you focus on business outcomes. From initial consultation to ongoing support, GrowwStacks ensures your automation systems run smoothly at scale.
- Custom automation setup
- Cloud deployment assistance
- Ongoing support plans
Ready to Eliminate Your Automation Costs?
Most businesses overspend on tools they could run for free. Let GrowwStacks deploy your enterprise-grade n8n instance in 1 business day - complete with premium features and secure remote access.