Not Sure How to Use Zapier? Start With These 4 Automation Components
Most business owners know they should automate repetitive tasks - but staring at a blank Zapier canvas is paralyzing. Learn the four fundamental building blocks of every automation (triggers, actions, conditions, and timing) with real examples from Notion and Google Docs that you can implement today.
The 4 Components of Every Automation
Automation feels overwhelming when you don't understand the basic building blocks. You know you're wasting hours on repetitive tasks between apps, but staring at Zapier's interface makes you question whether automation is worth the setup time.
Every automation - whether in Zapier, Make, or n8n - consists of four fundamental components: triggers, actions, conditions, and timing. Understanding these transforms automation from a confusing tech project into a predictable system you can design intentionally.
80% of useful business automations only need triggers and actions - the two components we'll focus on in this guide. Conditions and timing become important as your automations grow more sophisticated.
Triggers Explained With Notion Examples
A trigger is the event that starts your automation - the "when this happens" part of your workflow. In Notion, common triggers include:
- New Database Item: When a new row gets added to a specific database
- Updated Item: When content in an existing database row changes
- New Comment: When someone comments on a page or database item
At the 2:15 mark in the video, you'll see how Zapier surfaces these triggers when you search for Notion in their app directory. The available triggers depend entirely on what events the app (in this case Notion) makes available through its API.
Actions Explained With Google Docs
Actions are what happen after your trigger fires - the "then do this" part of your automation. For Google Docs, common actions include:
- Append text to a document
- Create a document from template
- Upload or replace document text
Unlike triggers which are limited by what the app provides, actions represent what Zapier can make the app do. This is why you'll often find more action options than triggers - Zapier can typically push data into apps in more ways than apps can notify Zapier about events.
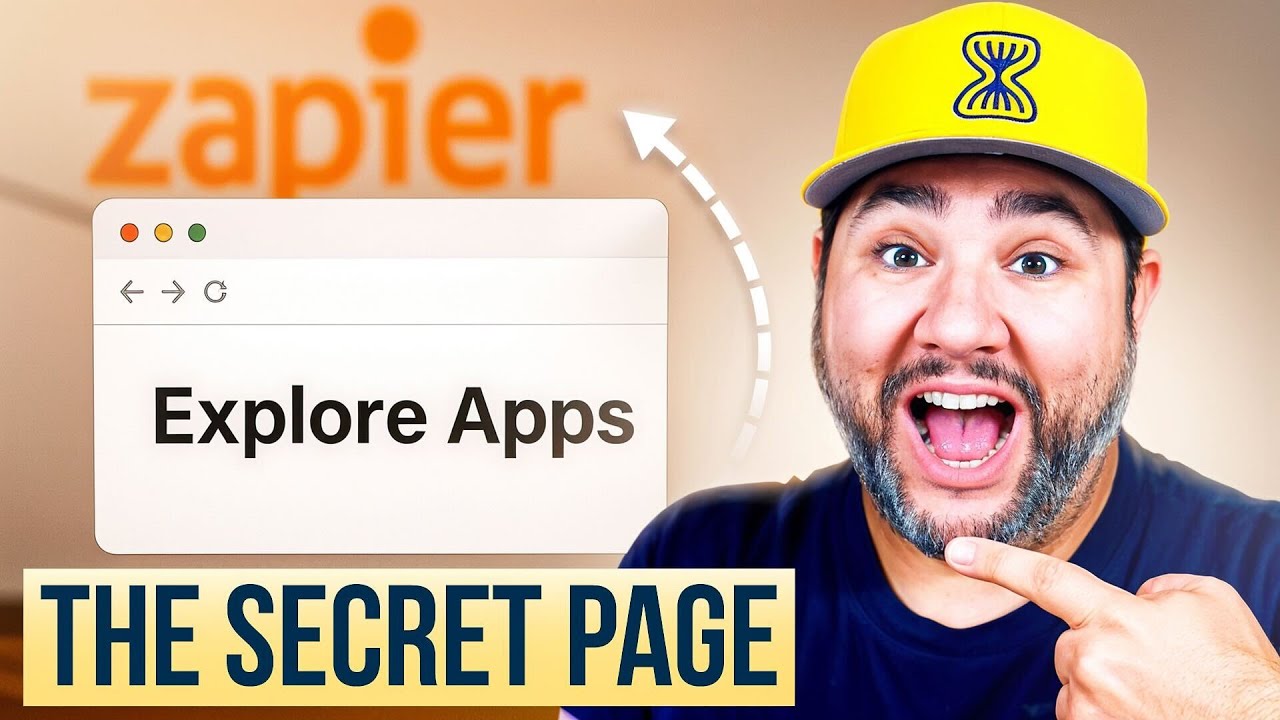
How to Find Triggers in Zapier's Directory
Many beginners get stuck at the very first step - not knowing what triggers exist for their apps. Here's the exact process shown at 1:30 in the video:
- Click "Explore" in Zapier's top navigation (it's easy to miss if you're automatically logged in)
- Search for your app (like "Notion" or "Google Docs")
- Scroll down to the "Triggers" section
- Use the filter to view only triggers if needed
Pro Tip: Big tech apps often provide fewer triggers than smaller SaaS tools. Google and Microsoft products typically offer just 3-5 basic triggers, while niche apps might provide 15+ specialized triggers.
Using Suggested App Pairings
Zapier's suggested app pairings (shown at 3:45 for Notion + RSS) solve the beginner's "blank canvas problem" by showing proven automation combinations. These templates:
- Demonstrate real-world use cases you might not have considered
- Pre-configure the most common trigger/action combinations
- Serve as starting points you can customize for your needs
For example, the Notion + RSS pairing automatically saves new podcast episodes to your Notion knowledge base - a workflow you might not have imagined building from scratch.
Common Beginner Mistakes to Avoid
After helping hundreds of businesses implement Zapier, we see the same three mistakes repeatedly:
- Choosing the wrong trigger: Picking "New Database Item" when you really need "Updated Item" leads to missed automations.
- Overlooking action limitations: Not all fields in apps like Notion or Google Docs may be available to update via Zapier.
- Ignoring suggested pairings: Beginners often dismiss templates as "too basic" when they're actually perfect starting points.
The video shows a great example at 4:20 - realizing Instapaper doesn't support the expected triggers before building a complex workflow around it.
Real Automation Example: Google Sheets to Gmail
At 5:15 in the tutorial, you'll see a powerful real-world example: automatically sending emails from Gmail when new rows get added to Google Sheets. This workflow:
- Trigger: New row in specific Google Sheet
- Action: Send email via Gmail with data from that row
The creator used this to respond to HARO (Help a Reporter Out) queries matching specific keywords - a process that previously required manual monitoring and response.
Time Saved: This simple automation reduced a daily 45-minute manual process to zero active time while improving response speed to opportunities.
Watch the Full Tutorial
See these concepts in action between 1:30-3:00 where we explore Notion's triggers and 4:45-6:15 for the Google Sheets to Gmail example. The video demonstrates the exact clicks to find triggers and actions in Zapier's interface.
Key Takeaways
Automation stops feeling overwhelming when you understand the four fundamental components. Start simple with just triggers and actions between two apps you already use daily.
In summary: 1) Find your trigger event in Zapier's directory 2) Choose what action should happen next 3) Use suggested pairings as templates 4) Expand with conditions and timing as needed.
Frequently Asked Questions
Common questions about Zapier automation
Every Zapier automation consists of four key components: triggers (the event that starts the automation), actions (what happens after the trigger), conditions (optional rules that must be met), and timing (when the automation runs).
Most basic automations only need a trigger and action to work effectively. As you build more complex workflows, conditions and timing parameters help refine when and how your automations execute.
- Triggers: New email, form submission, database change
- Actions: Send notification, update record, create task
- Conditions: Only if amount > $100, unless status is canceled
- Timing: Run at 9am daily, delay 2 hours after trigger
In Zapier's app directory, search for your app (like Notion or Google Docs) and look at the 'Triggers' section. Each app shows available triggers - for Notion these include 'New Database Item', 'Updated Item', or 'New Comment'.
The available triggers depend on what the app's API allows. Bigger platforms like Google and Microsoft often provide fewer triggers than specialized SaaS tools. If you don't see the trigger you need, check if the app has a webhook option or consider using a different trigger that occurs at a similar time.
- Click "Explore" in Zapier's top navigation
- Search for your desired app
- Scroll to the Triggers section or use the filter
- Check both instant and polling trigger types
A great first automation is connecting Google Sheets to Gmail - have new rows added to a sheet trigger specific emails. Another simple one is RSS feeds to Notion, automatically saving new podcast episodes or articles to your knowledge base.
Start with tools you already use daily. The best beginner automations solve small but frequent pain points - like notifying your team when a shared document changes or adding new form submissions to a CRM. Avoid complex multi-step workflows for your first few Zaps.
- Google Forms → Google Sheets (no Zapier needed)
- New Gmail email matching criteria → Slack notification
- Calendar event created → Todoist task
- New Facebook Lead Ad → CRM contact
Some apps limit available triggers due to API restrictions or business decisions. Big tech companies often provide minimum viable triggers rather than full access to their event systems.
For example, you might not find a "Document Viewed" trigger for Google Docs because Google doesn't expose that event through their API. If a trigger you need isn't available, check if the action exists instead (can you push data to the app even if you can't trigger from it?), or consider alternative apps with better automation support.
- API rate limits may restrict certain triggers
- Privacy concerns prevent some event tracking
- Check the app's Zapier documentation for explanations
- Alternative apps often provide more triggers
Zapier's suggested pairings show proven automation combinations between popular apps. These serve as templates showing what's possible, helping beginners understand common use cases without needing to imagine workflows from scratch.
For example, seeing that many people connect Typeform to Google Sheets demonstrates that form responses often need to be collected in spreadsheets. These pairings eliminate the "blank canvas" problem where beginners don't know where to start. You can always customize the templates once you understand the basic flow.
- Show real-world use cases you might not consider
- Pre-configure the most common trigger/action combos
- Include helpful field mappings between apps
- Provide inspiration for your own custom workflows
Triggers are events that start automations (like a new Google Doc being created), while actions are what Zapier does in response (like adding that doc to Notion). Think of triggers as the 'when' and actions as the 'what happens next'.
A key technical difference: triggers are limited by what events the app chooses to expose through its API, while actions represent what Zapier can make the app do. This is why you'll often find more action options than triggers - Zapier can typically push data into apps in more ways than apps can notify Zapier about events.
- Triggers = events apps report ("this happened")
- Actions = commands Zapier sends ("do this")
- Every Zap requires at least one trigger and one action
- Multi-step Zaps chain multiple actions after one trigger
Absolutely. Zapier is designed for non-technical users with its visual builder and pre-made templates. The platform guides you through selecting triggers and actions with simple dropdown menus and field matching.
Most users can create their first working automation in under 15 minutes without any coding. The key is starting with simple, single-purpose Zaps between two apps you already use. As you become comfortable with basic triggers and actions, you can gradually incorporate filters, paths, and other advanced features.
- No coding required for basic automations
- Pre-built templates handle complex setups
- Field matching uses plain language labels
- Testing tools help debug without technical knowledge
GrowwStacks helps businesses implement automation workflows, AI integrations, and scalable systems tailored to their operations. Whether you need a custom workflow, AI automation, or a full multi-platform automation system, the GrowwStacks team can design, build, and deploy a solution that fits your exact requirements.
We specialize in taking the concepts explained in this article and implementing them in real business contexts - with proper error handling, notifications, and maintenance plans. Our clients typically see a 10-20x return on their automation investment through saved labor hours and improved process reliability.
- Free 30-minute automation strategy session
- Custom workflow design based on your tools
- Implementation with documentation and training
- Ongoing support and optimization
Ready to Automate Your First Workflow?
Every day you delay automation costs your team hours of repetitive work. In just 30 minutes, our automation experts can identify 3-5 workflows to automate using the exact triggers and actions we covered here.