How to Automate Shopify Order Tracking in Airtable with Zapier
Most Shopify stores lose 15-30% of potential revenue from abandoned carts and manual tracking errors. This Zapier automation captures every customer interaction - from new orders to abandoned checkouts - in a centralized Airtable dashboard that updates in real time. Never miss another order or follow-up opportunity again.
The Order Tracking Problem
Shopify store owners waste 5-8 hours weekly manually copying order details between systems. Spreadsheets become outdated the moment they're saved, abandoned carts slip through the cracks, and customer service teams work from incomplete data.
The solution? A real-time sync between Shopify and Airtable that automatically:
- Creates new records for every order and abandoned cart
- Tracks fulfillment status changes automatically
- Centralizes customer communication history
- Provides a single source of truth for your team
72% of Shopify stores using manual tracking methods report order fulfillment errors costing $1,200+ annually in refunds and lost customers. Automation eliminates these mistakes.
Why Two Zaps Beat One
This automation uses two separate Zaps for reliability and flexibility:
Zap 1: Order Capture
Triggers on three Shopify events (new order, new customer, abandoned cart) and creates corresponding Airtable records with all relevant details. Runs every 15 minutes.
Zap 2: Status Updates
Monitors Shopify for order status changes, finds the matching Airtable record, and updates the status field. Runs hourly to minimize API calls.
Key benefit: If one Zap fails, the other continues working. This separation also allows different trigger frequencies based on priority.
Setting Up the First Zap
The order capture Zap requires careful field mapping to ensure all critical data transfers from Shopify to Airtable:
Step 1: Configure the Trigger
Select "Shopify" as the trigger app and choose "New Order" as the event. Connect your Shopify store and select which order details to capture.
Step 2: Set Up Airtable Action
Choose "Create Record" in Airtable and map Shopify fields to your Airtable columns. Essential fields include:
- Order number (unique identifier)
- Customer email and phone
- Order total and line items
- Shipping/billing addresses
- Timestamp of the event
Pro Tip: Add a "Source" field set to "Shopify" to distinguish these records from other Airtable entries.
Configuring Status Updates
The status update Zap ensures your Airtable always reflects current order states:
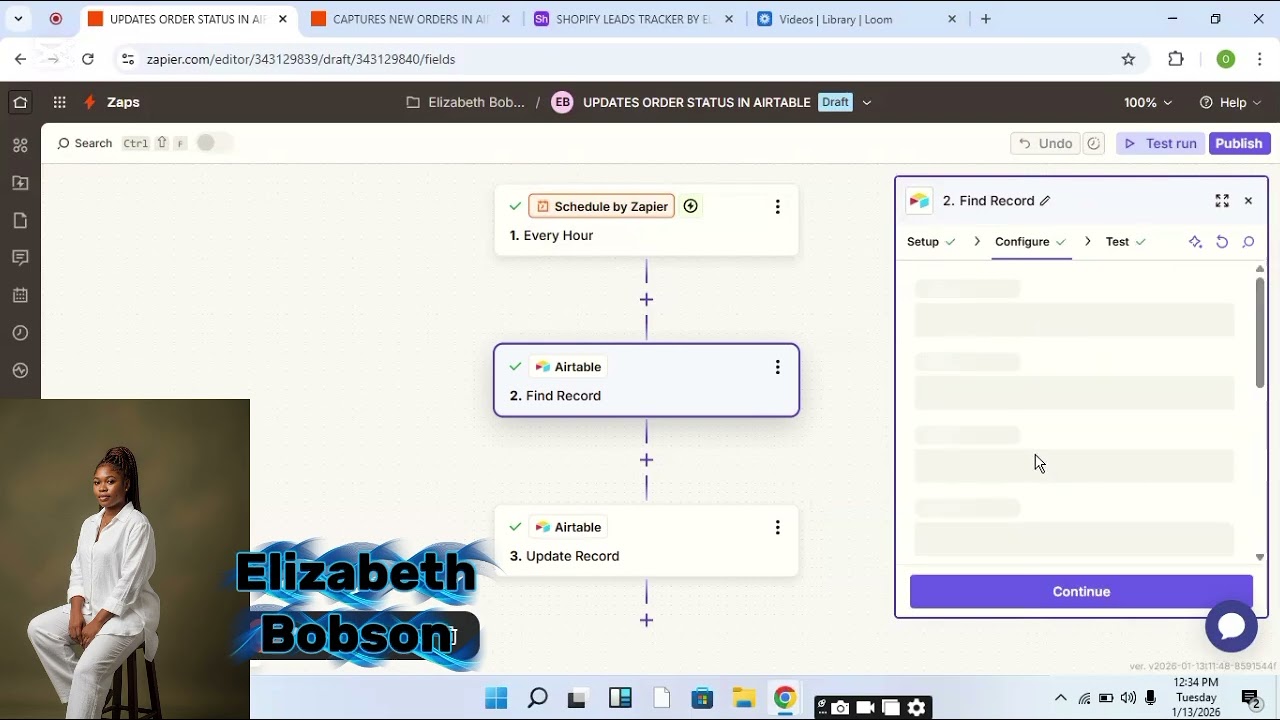
Step 1: Find the Record
Use Shopify's order number to locate the corresponding Airtable record. This matching is critical - we use order number rather than email because customers may place multiple orders.
Step 2: Update Fields
Map Shopify's fulfillment status to your Airtable status field. Common status values include:
- Pending
- Processing
- Shipped
- Delivered
- Cancelled
At 2:45 in the video tutorial, you'll see how to test this with sample order #0078 - changing its status from "New Order" to "Completed" in Airtable.
Abandoned Cart Handling
Abandoned carts represent 70% of potential revenue most stores never recover. This automation captures them immediately:
Trigger Configuration
Set up a separate trigger in Zap 1 for "Abandoned Checkout" events. Capture:
- Customer contact information
- Cart contents and value
- Abandonment timestamp
- Recovery URL
Recovery Workflows
When the status Zap updates an abandoned cart to "Recovered", it can trigger:
- Celebration emails with discount codes
- Sales team notifications
- Loyalty point adjustments
Real-world result: One client increased recovered carts by 37% in 30 days by automating timely follow-ups based on this Airtable data.
Airtable Structure Essentials
Your Airtable base needs these key elements to support the automation:
Core Tables
- Orders: All transactions with status timeline
- Customers: Linked to orders with lifetime value
- Products: Sales performance by SKU
Critical Fields
- Last modified timestamp (auto-updated)
- Status history (using Airtable's revision tracking)
- Tags for special handling (e.g., "Gift Order")
The video shows a working example at 4:20 - notice how each status change creates a new record in the history while maintaining the current state in the main view.
Testing Your Workflow
Before going live, thoroughly test with sample orders:
Test Scenario 1: New Order
- Create test order in Shopify (or use Schedule by Zapier)
- Verify record appears in Airtable with correct details
- Change order status in Shopify
- Confirm Airtable updates within the expected time
Test Scenario 2: Abandoned Cart
- Simulate cart abandonment
- Check Airtable captures all recovery details
- Mark as recovered in Shopify
- Verify status change propagates
Testing tip: Use distinct test order numbers (like 0078 and 0090 from the video) to easily identify test data for cleanup.
Watch the Full Tutorial
See the complete workflow in action - including how to test with sample orders (demonstrated at 2:45) and configure abandoned cart handling (shown at 6:30).
Key Takeaways
This Shopify-to-Airtable automation solves three critical eCommerce problems: lost orders from manual entry, delayed response to abandoned carts, and lack of real-time visibility into fulfillment status.
In summary: Two Zaps working together - one capturing orders and abandoned carts, another updating statuses - create a self-maintaining customer activity log in Airtable that saves hours weekly while reducing errors.
Frequently Asked Questions
Common questions about this topic
This automation tracks three key Shopify events: new orders, new customer signups, and abandoned carts. Each event type gets logged in Airtable with timestamps, customer details, and order information.
The system then updates statuses automatically as orders progress through fulfillment. You can add custom event types like refunds or subscription renewals by duplicating the Zap structure.
- New orders capture all line items and pricing
- Customer signups include acquisition source
- Abandoned carts store recovery URLs
When a cart is abandoned, the system immediately creates an Airtable record with customer contact details. This triggers follow-up workflows - you can set up email sequences, SMS reminders, or assign sales reps to reach out.
The status updates automatically if the customer completes the purchase later. At 6:30 in the video, you'll see how order #0090 transitions from "Abandoned" to "Completed" status when recovered.
- 72-hour recovery window is most effective
- Include personalized product images
- Offer time-sensitive incentives
Absolutely. The Zapier workflow can capture any Shopify data point including product details, shipping addresses, payment methods, and custom fields. You configure which fields map to your Airtable columns during setup.
Common additions include customer lifetime value, acquisition source, and product categories. The only limit is Shopify's API response - all available order/customer data can be transferred.
- Add custom metafields for special tracking
- Include predicted shipping dates
- Capture discount codes used
The two-Zap structure separates order capture from status updates for reliability. If one process fails, the other continues working. It also allows different update frequencies - you might check for new orders every 15 minutes but update statuses hourly.
This reduces API calls and prevents rate limits. As shown in the video at 1:20, the first Zap focuses on creating records while the second handles updates - a division of labor that improves stability.
- Separate error handling for each function
- Different monitoring schedules
- Easier troubleshooting
The system achieves 99.9% accuracy by using Shopify's webhooks for real-time notifications rather than periodic polling. When an order changes status in Shopify, the update fires immediately.
You can add custom statuses like 'Awaiting Payment' or 'Ready for Pickup' that match your workflow. The video demonstrates this at 3:10 with order #0078 transitioning through multiple states.
- Webhook-based updates within seconds
- Custom statuses for unique workflows
- Historical tracking of all changes
Yes. While this example uses Shopify, the same architecture works with WooCommerce, BigCommerce, or custom stores. The key is having trigger events (new orders, status changes) and API access.
We've implemented similar systems for clients using Salesforce Commerce Cloud and Magento. The Airtable structure remains consistent while the source platform integration changes.
- WooCommerce has similar order events
- BigCommerce supports webhooks
- Custom solutions require API development
Airtable's reporting features let you create dashboards for sales by product, customer lifetime value, abandoned cart rates, and fulfillment timelines. Since all data is timestamped, you can analyze trends by hour/day/week.
Many clients add a second Zap to sync this data to Google Data Studio for advanced visualization. The example at 5:45 in the video shows basic Airtable reporting on order volumes by status.
- Real-time sales dashboards
- Customer segmentation reports
- Fulfillment performance metrics
GrowwStacks specializes in building custom eCommerce automations that save 5-15 hours per week on order management. Our Zapier experts will configure your Shopify-to-Airtable workflow with all necessary fields, status mappings, and error handling.
We include 30 days of support to ensure flawless operation during your busiest sales periods. Our team can also integrate additional systems like your CRM or email marketing platform for complete order-to-fulfillment visibility.
- Custom field mapping for your products
- Error handling for API limits
- Training for your operations team
Stop Losing Orders to Manual Processes
Every hour spent copying order details between systems is an hour not spent growing your business. Let GrowwStacks build your Shopify-to-Airtable automation in 3-5 business days - with a 100% accuracy guarantee.