What This Workflow Does
For e-commerce stores using WooCommerce, customer communication often happens in silos. A customer might submit a special delivery request via a contact form, provide product feedback through a survey, or report an issue after purchase. Without automation, this critical information gets trapped in your form plugin, forcing your support or fulfillment team to manually search for the order and copy-paste the details—a slow, error-prone process.
This workflow solves that by creating a seamless bridge between Gravity Forms and WooCommerce. Whenever a form is submitted—be it for feedback, instructions, or a custom request—the automation instantly finds the corresponding WooCommerce order and adds the form data as a private note. This attaches the customer's voice directly to their purchase record, giving your entire team immediate, contextual access to what the customer needs.
The result is a unified customer profile. Your support agents see the full history, your warehouse knows about special packaging requests, and your customer feels heard because their specific message is logged against their order. It turns passive form data into active, operational intelligence.
How It Works
The automation acts as a smart router, taking data from one platform and placing it precisely where it's needed in another.
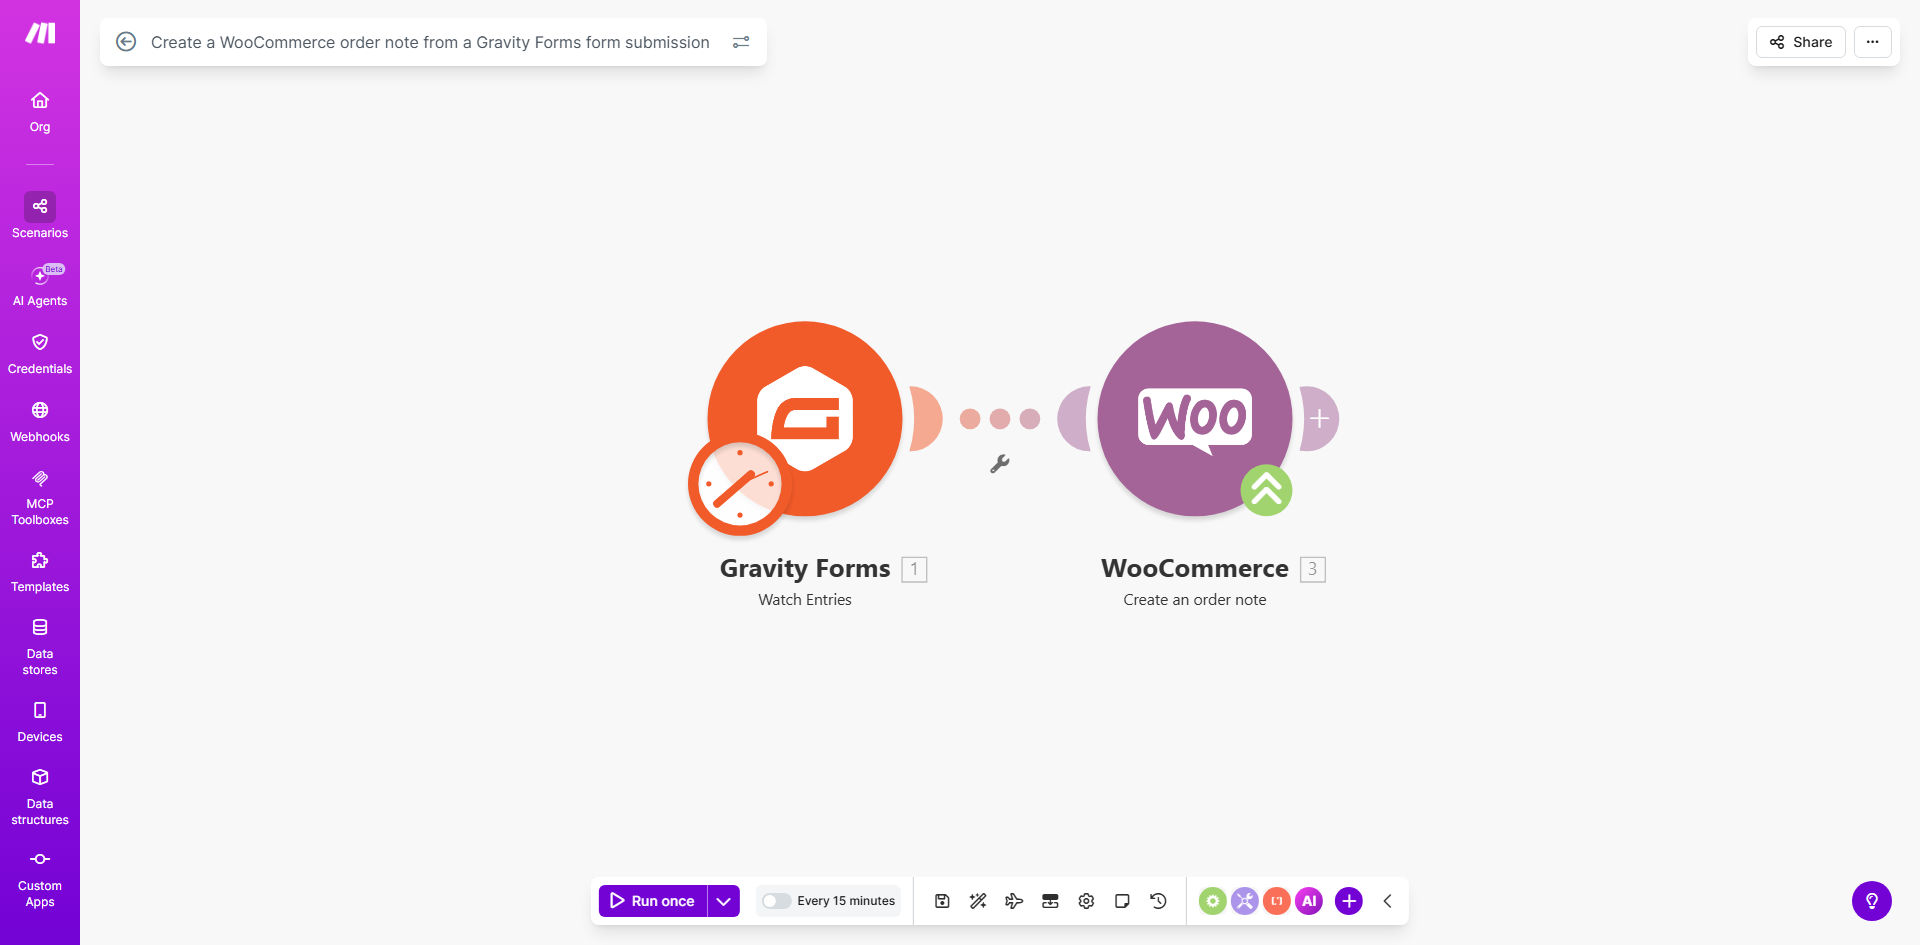
Step 1: Trigger on Form Submission
The workflow is activated the moment a user submits your configured Gravity Form. Make.com captures the entire submission, including all field data (like name, email, order number, and the message content) and the form entry ID.
Step 2: Identify the Correct WooCommerce Order
This is the critical step. The automation uses a unique identifier from the form—most commonly the WooCommerce order number—to search your store's database and retrieve the exact order. It ensures the note is attached to the right purchase, even if the customer has multiple orders.
Step 3: Format and Create the Order Note
The data from the form is then structured into a clear, readable note. The automation can prepend labels (e.g., "Feedback:" or "Delivery Instructions:") and compile information from multiple fields. This formatted note is then sent to the WooCommerce API to be added as a private note to the identified order.
Step 4: Confirm and Log
The workflow confirms the note was successfully created. For advanced setups, you can add steps to notify your team via Slack or email, or log the action in a Google Sheet for audit purposes.
Pro tip: Always include a mandatory "Order Number" field in your Gravity Form. This is the most reliable way to match the submission to the correct WooCommerce order and prevent notes from being attached to the wrong purchase.
Who This Is For
This automation is a game-changer for any WooCommerce store that uses Gravity Forms for customer interaction.
- E-commerce Stores with Post-Purchase Surveys: Automatically attach customer satisfaction scores and comments to the order for service recovery and product development.
- Businesses Selling Customizable Products: Streamline the process of capturing customization details (engraving text, color choices) and linking them directly to the order for production teams.
- Stores with Complex Delivery Needs: Let customers specify delivery windows, safe drop locations, or gift messages, ensuring these instructions are front-and-center for your shipping partner.
- Subscription Box Companies: Capture "skip," "pause," or "preference change" requests via form and attach them to the subscription order, preventing fulfillment errors.
- Customer Support Teams: Turn generic "contact us" forms into actionable tickets by instantly providing agents with the customer's order history and context.
What You'll Need
- A live WooCommerce store with administrative access to generate API keys.
- A Gravity Forms license and a form already created on your WordPress site.
- A Make.com account (free tier is sufficient to build and test this workflow).
- Your Gravity Form must include a field that captures a unique order identifier, such as the WooCommerce order number. This is essential for the matching logic.
- (Recommended) A basic understanding of how to navigate the WooCommerce settings to create API credentials and where to find order notes in the admin panel.
Quick Setup Guide
- Prepare Your Form: In Gravity Forms, ensure you have a field (like a Single Line Text field) where customers can enter their order number. Make this field required for submissions you want to automate.
- Get Your API Keys: In your WooCommerce settings (WooCommerce > Settings > Advanced > REST API), create a new API key with "Read/Write" permissions. Copy the Consumer Key and Consumer Secret.
- Set Up the Make.com Scenario: Click the "Get This Workflow" button to copy the template into your Make.com account. In the first module, connect your Gravity Forms site. In the WooCommerce module, paste your API keys to establish the connection.
- Map the Data: Instruct the scenario to use the value from the "Order Number" form field to search for the WooCommerce order. Then, map the other relevant form fields (like "Message" or "Feedback") into the "Note" field for the WooCommerce "Create an Order Note" action.
- Test and Activate: Submit a test entry on your live Gravity Form. Check the corresponding WooCommerce order to confirm a new private note was added successfully. Once verified, activate the scenario to run automatically.
Key Benefits
Eliminate 5–10 minutes of manual work per customer request. Your team no longer needs to switch between Gravity Forms entries and WooCommerce orders to copy information, saving hours per week and allowing them to focus on higher-value tasks.
Reduce human error and miscommunication to zero. Automated data transfer ensures the customer's exact words are recorded in the order notes verbatim. There's no risk of typos, omitted details, or notes being attached to the wrong order.
Improve first-contact resolution rates for support. When a customer emails about a previous request, your agent has immediate access to the original form submission within the order history, providing full context and enabling faster, more accurate solutions.
Create a searchable audit trail for quality control. Every customer interaction linked to an order becomes a permanent part of your business record. This is invaluable for resolving disputes, training staff, and analyzing customer feedback trends over time.
Enhance the customer experience with perceived attentiveness. Customers feel confident that their specific instructions or feedback are formally logged with their purchase, increasing trust and satisfaction with your brand's service level.