What This Workflow Does
For product and development teams, valuable feedback often arrives scattered across support emails, stakeholder communications, and customer messages. Manually copying this information into your project management tool is a repetitive, time-consuming task that leads to delays, lost details, and prioritization bottlenecks.
This automated workflow solves that by creating a seamless bridge between your email inbox and Pivotal Tracker. Every time a designated email is received—whether it's a bug report from a user or a feature request from sales—Make.com instantly captures its contents and creates a fully-formed story in your Pivotal Tracker project. This ensures every piece of feedback is logged, categorized, and ready for your development backlog without any human intervention.
The result is a dramatic acceleration of your feedback loop. Issues are triaged faster, product managers gain real-time visibility into incoming requests, and developers spend less time deciphering vague emails and more time building. It transforms unstructured communication into structured, actionable work.
How It Works
The automation follows a clear, reliable sequence to convert an email into a development task.
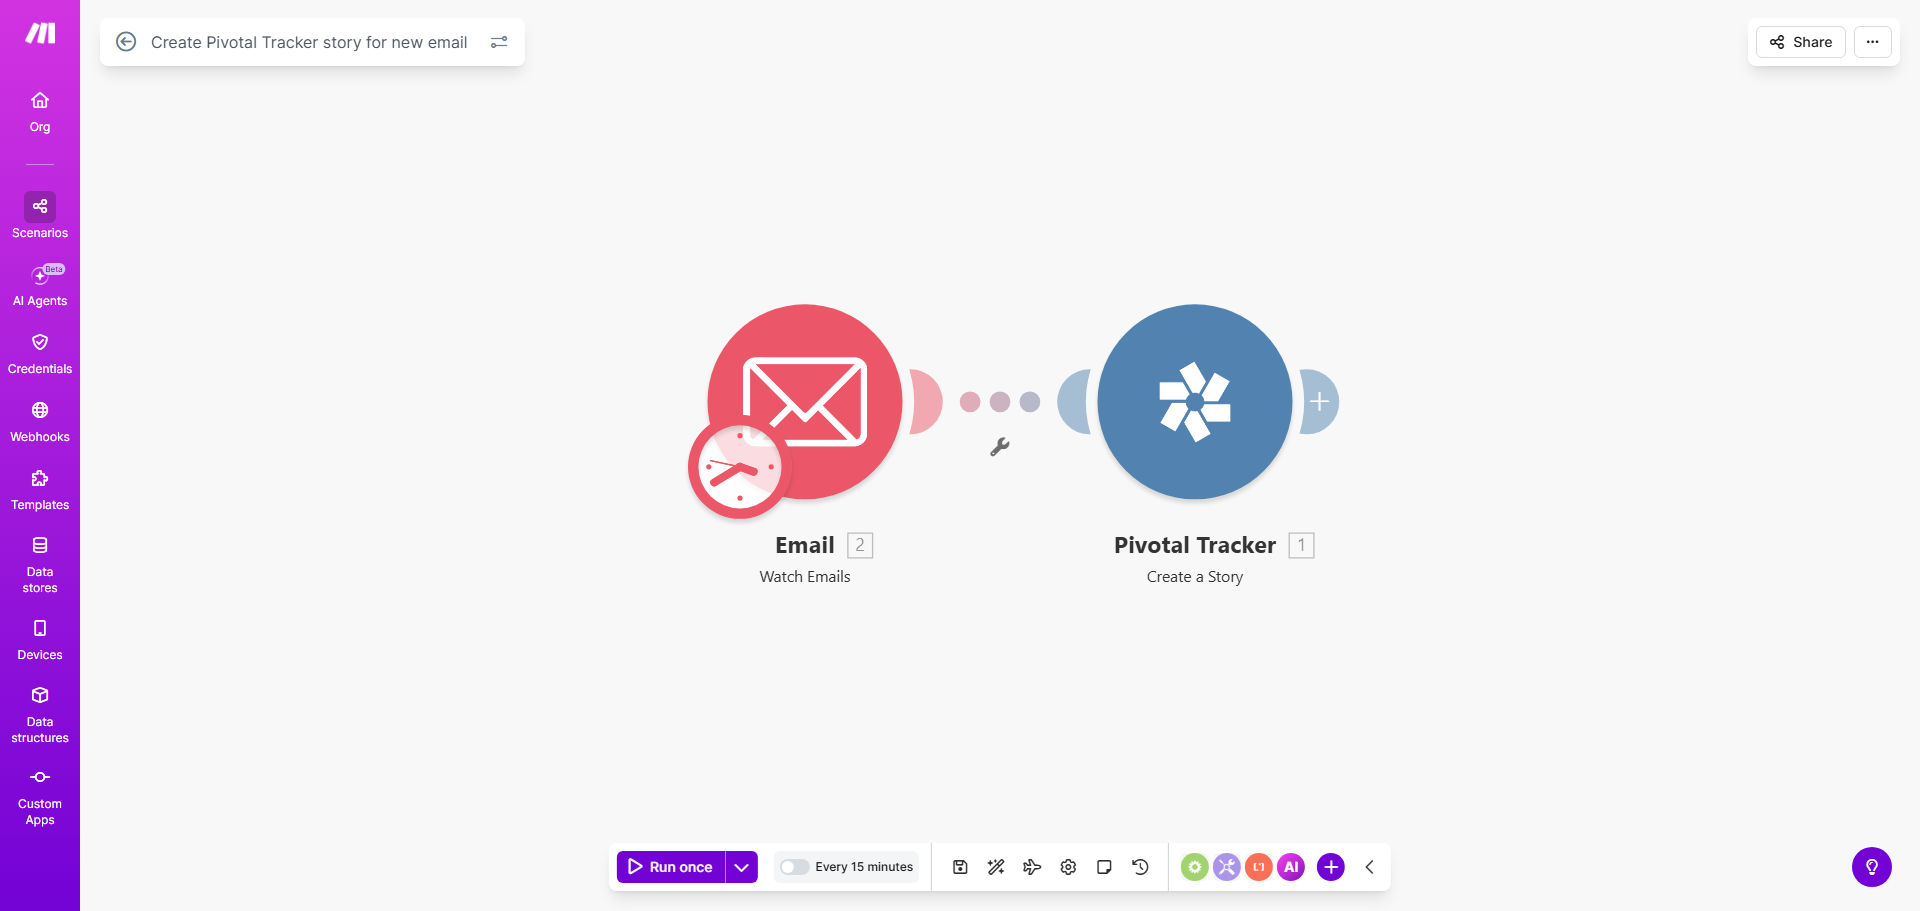
Step 1: Trigger on New Email
The workflow is activated whenever a new email arrives in a specified mailbox. You can configure it to watch a dedicated support address (e.g., [email protected]) or a specific folder. Make.com's Email module captures the entire email payload: sender, subject, body content, and any attachments.
Step 2: Parse and Structure the Data
Next, the workflow parses the email content to extract the most relevant information. It can use the subject line as the story name, the email body as the detailed description, and identify the sender as the requester. You can set up filters to ignore automated emails or spam, ensuring only valid requests proceed.
Pro tip: Use the email sender's address to automatically add a "requester" custom field in Pivotal Tracker. This creates instant traceability from the story back to the person who reported it.
Step 3: Create the Pivotal Tracker Story
Finally, the workflow uses the Pivotal Tracker module to create a new story in your chosen project. It maps the parsed email data to the story's fields: name, description, story type (e.g., feature, bug, chore), and labels (e.g., "customer-reported", "high-priority"). The story is placed in your backlog, instantly visible to the entire team and ready for estimation and scheduling.
Who This Is For
This automation is a game-changer for any team that uses Pivotal Tracker and receives actionable information via email.
Product Managers & Owners: Streamline the intake of feature requests and bug reports from customers, sales, and support teams directly into your product backlog.
Development Teams & Engineering Managers: Eliminate the friction of manual ticket creation. Get well-formatted stories with all necessary context automatically, reducing interruptions and clarifying requirements.
Support & Customer Success Teams: Ensure every customer issue is formally tracked in the development cycle without leaving your helpdesk email. Provide better visibility and updates to customers.
Startups & Small Businesses: Automate a critical business process with minimal setup. Maintain professional development practices even with limited administrative resources.
What You'll Need
- A Make.com account (free tier available).
- A Pivotal Tracker account with an existing project where you have permissions to create stories.
- Access to an email account (like Gmail, Outlook, or IMAP) that will serve as the source for incoming requests.
- The API token from your Pivotal Tracker account to authorize the connection in Make.com.
Quick Setup Guide
You can have this automation running in under 15 minutes.
- Clone the Template: Click "Get This Workflow" to copy the template into your Make.com account.
- Connect Your Email: In the first module, authenticate and select the specific email account or folder you want to monitor for new messages.
- Connect Pivotal Tracker: In the final module, add your Pivotal Tracker API token and select the target project and, optionally, the project iteration.
- Map Your Fields: Configure how the email data maps to the Pivotal Tracker story. Decide which part of the email becomes the title, description, and what labels to apply (e.g., "source:email").
- Test & Activate: Send a test email to your monitored address. Verify that a story appears correctly in your Pivotal Tracker project, then turn the scenario on. It will now run automatically.
Key Benefits
Save 5–10 hours per week on manual data entry. By eliminating the need to copy-paste information from emails into Pivotal Tracker, your product and support teams reclaim significant time for higher-value strategic work.
Reduce feedback-to-ticket time from hours to seconds. Critical bug reports and feature requests enter your development workflow immediately, slashing response times and improving customer satisfaction.
Ensure 100% capture of valuable feedback. Nothing gets lost in a crowded inbox or forgotten in a meeting note. Every qualified email is guaranteed to become a tracked story with full context.
Improve story quality and consistency. Automated stories follow a uniform format with predefined labels and types, making your backlog cleaner and easier for developers to prioritize and understand.
Create a transparent audit trail. Automatically link every Pivotal Tracker story back to its original email source, providing complete visibility into the origin and history of every work item.