What This Workflow Does
For teams using Jira for development tracking and Notion for company-wide project documentation, a major pain point is information silos. Developers update tickets in Jira, but project managers, marketers, and executives need to see that progress in Notion to make decisions. Manually copying issue details is slow, error-prone, and creates version confusion.
This automation solves that by creating a live bridge between the two platforms. Every time a new issue is created in Jira, this Make.com workflow instantly captures it and creates a corresponding, richly formatted page in your designated Notion database. It transfers key details like the issue summary, description, status, assignee, and due date, ensuring your Notion project hub is always current.
The result is a unified project tracking system. Non-technical team members get real-time visibility into development work without needing Jira access, while engineering teams can continue working in their preferred tool. This alignment reduces status meeting time, accelerates cross-functional collaboration, and provides leadership with a clear, always-updated project dashboard.
How It Works
The workflow operates on a trigger-action principle, monitoring Jira and pushing data to Notion automatically.
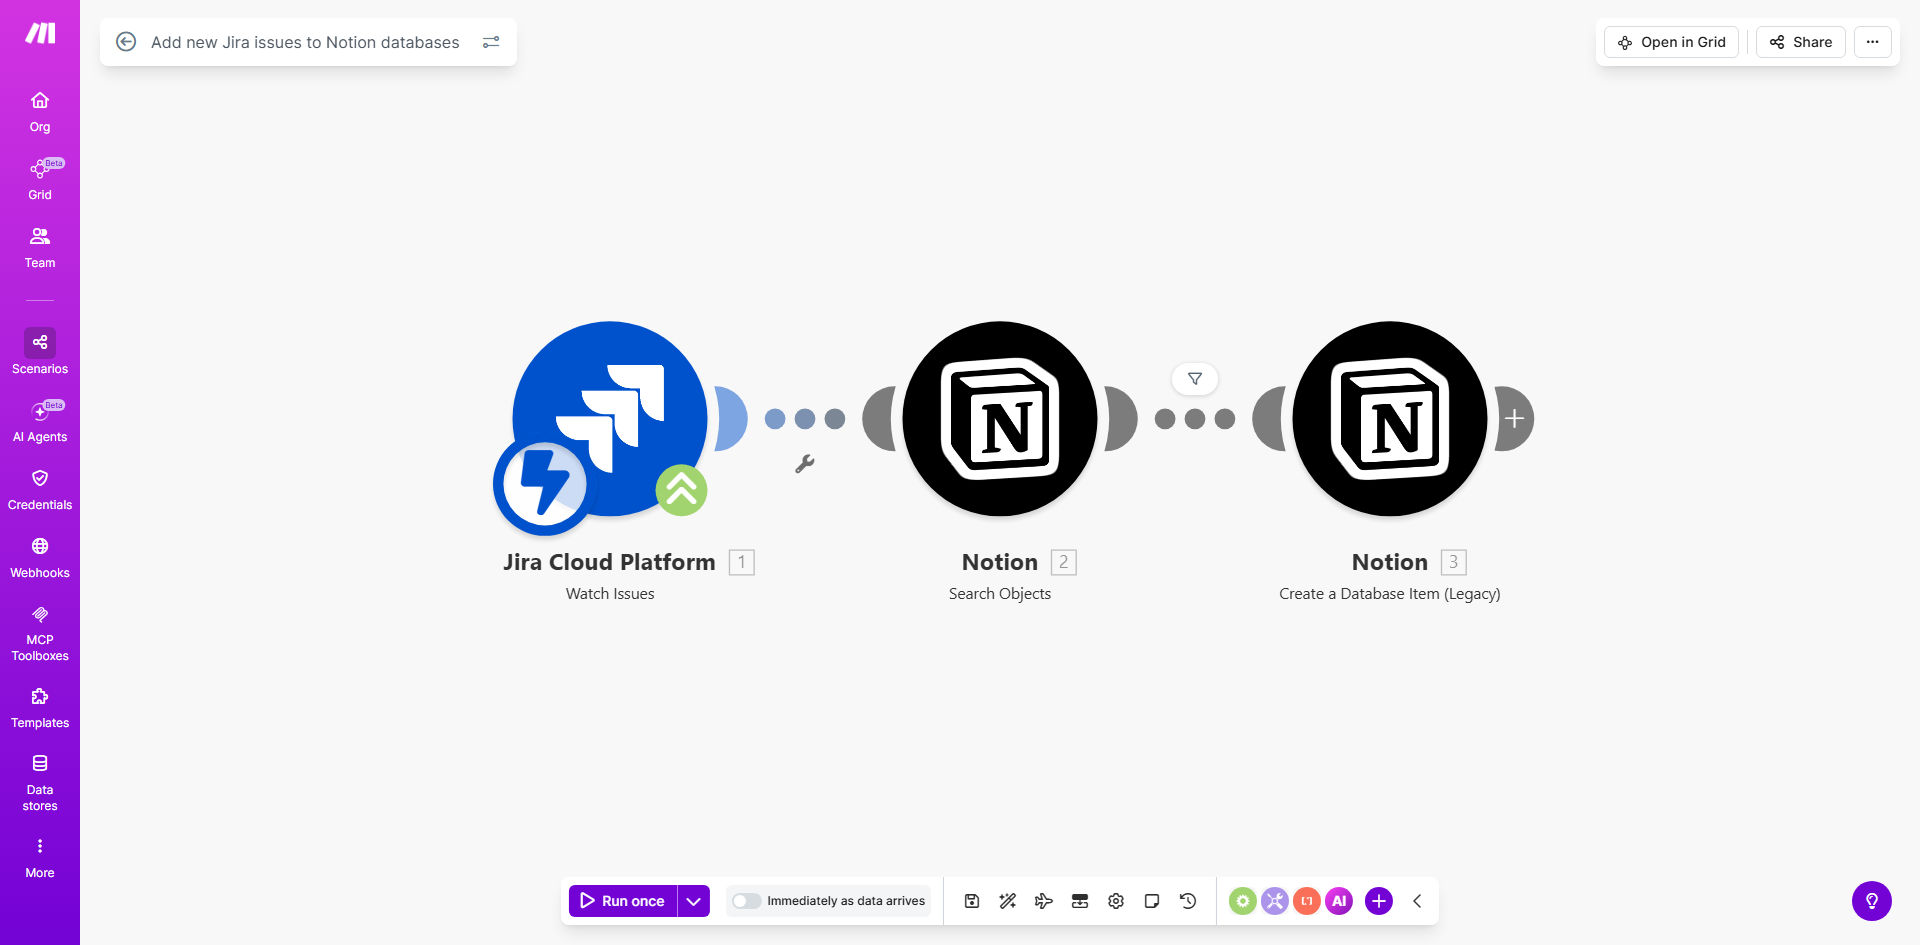
Step 1: Monitor for New Jira Issues
The scenario starts by watching a specific Jira Cloud project for newly created issues. Using Jira's webhook or a scheduled polling module, it detects the creation event almost instantly. The trigger captures the complete issue object with all its fields and custom properties.
Step 2: Map and Transform the Data
Make.com then processes the incoming Jira data. It maps each relevant Jira field (e.g., "Summary," "Status," "Assignee Email") to the corresponding property type in Notion (e.g., "Title," "Select," "Person"). The workflow can also enrich the data, such as formatting the description for Notion's block-based editor or calculating a due date.
Pro tip: Use filters in this step to only sync specific issue types (like "Story" or "Bug") or from certain projects, preventing your Notion database from being cluttered with minor tasks or internal tickets.
Step 3: Create the Notion Database Page
Finally, the workflow uses the Notion API to create a new page inside your pre-configured database. It populates all the mapped properties and can even add the Jira issue URL as a link property for quick navigation back to the source. The page is created under the correct project and is instantly viewable by anyone with access to the Notion workspace.
Who This Is For
This automation is ideal for any organization that relies on both Jira and Notion. Product Managers can maintain a public-facing roadmap in Notion that's automatically fed by engineering progress in Jira. Startup founders and small business owners can keep the entire company aligned without forcing non-tech teams to learn Jira. Agency teams managing client projects can provide transparent updates by syncing Jira tickets to a client-accessible Notion portal. It's also perfect for remote and hybrid teams where clear, centralized communication is critical to success.
What You'll Need
- A Make.com account (free tier available).
- Admin access to a Jira Cloud instance to generate an API token and set up a webhook or allow API access.
- A Notion workspace with a pre-built database to receive the issues. You must create the database and its property schema (like "Status," "Assignee," "Due Date") before running the automation.
- A Notion integration (API key) created via Notion's developer settings, and that integration must be shared with the target database.
Quick Setup Guide
You can have this automation running in under 30 minutes by following these steps.
- Duplicate the template: Click "Get This Workflow" to copy the scenario to your Make.com account.
- Connect your apps: In the first module, authorize Make.com to access your Jira Cloud account using an API token. In the Notion module, connect using your Notion integration's internal secret.
- Configure the trigger: Select the specific Jira project you want to monitor. You can set filters here for issue type or labels.
- Map your database: Point the Notion module to the exact Database ID you created. Then, map each Jira field (on the left) to the correct Notion property (on the right). Ensure data types match (e.g., map a Jira user email to a Notion "Person" property).
- Test and activate: Use the "Run once" feature to test with an existing Jira issue. Verify the page appears correctly in Notion. Then, activate the scenario to run automatically.
Key Benefits
Save 5–10 hours per month on manual data entry and status reporting. This automation completely eliminates the need for someone to manually transfer ticket information between systems, freeing up valuable time for strategic work.
Eliminate human error and ensure data consistency. Automated syncing guarantees that the information in Notion is always an exact match of Jira, removing mistakes from manual copy-pasting or outdated updates.
Improve cross-team transparency and decision speed. When marketing, sales, and leadership can see real-time development progress in a tool they already use (Notion), they can make faster, better-informed decisions without interrupting the engineering team.
Create a scalable foundation for project tracking. Once this sync is in place, you can easily extend it to include updates on issue status changes or comments, building a comprehensive, bi-directional project hub.