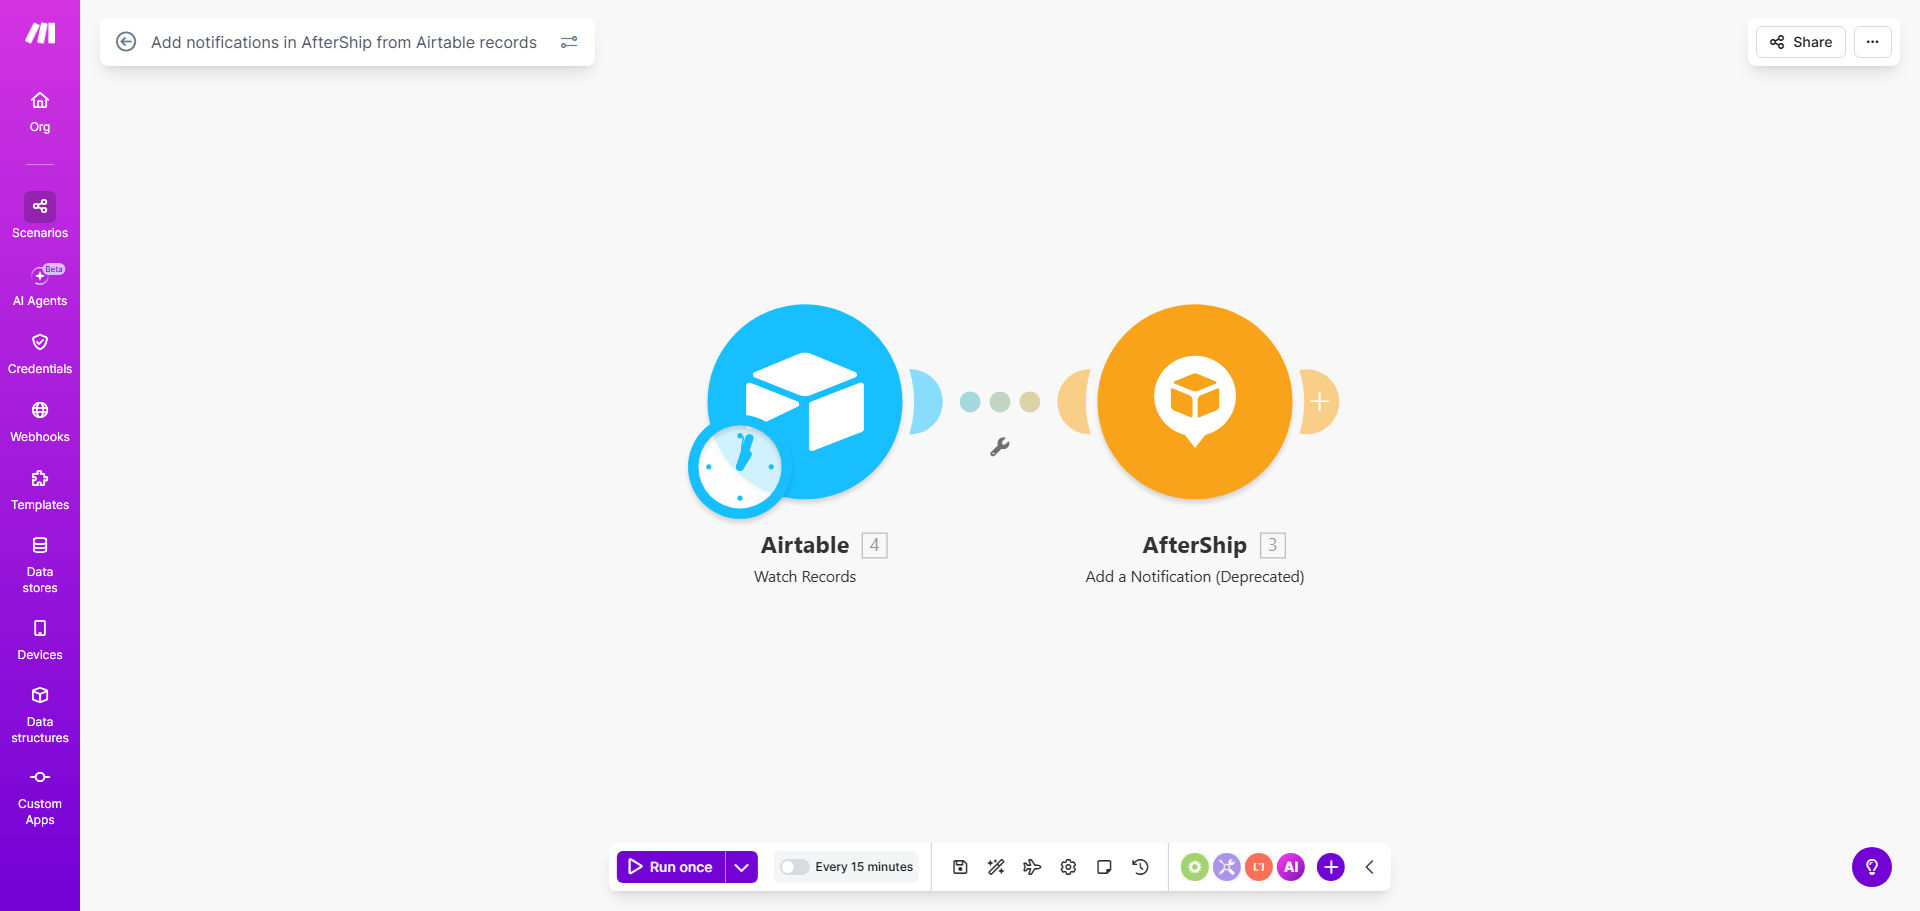
What This Workflow Does
For e-commerce businesses, manually entering tracking numbers from your order management system into a shipping notification platform like AfterShip is a repetitive, time-consuming task that's prone to errors. This delay in updating customers can lead to increased support tickets and a poorer post-purchase experience.
This automation solves that problem by creating a direct bridge between Airtable, where you might manage orders, and AfterShip, your shipping notification hub. Every time a new record with tracking details is added to your designated Airtable table, this workflow instantly creates a corresponding tracking notification in your AfterShip account. The customer automatically receives their tracking update, and your team never has to touch the process.
The result is a fully automated, error-free notification system that operates in the background. It ensures customers are informed promptly, which builds trust and reduces the workload on your customer service team, allowing them to focus on more valuable tasks.
How It Works
The workflow is triggered by new data and executes a series of precise actions to transfer information between platforms.
Step 1: Monitor Airtable for New Records
The scenario starts by watching a specific Airtable base and table for new records. You can configure it to check at regular intervals (e.g., every 15 minutes) or use a webhook for instant triggering. When a new row is detected, the workflow captures all the relevant data fields.
Pro tip: Structure your Airtable table with clear columns for Tracking Number, Carrier, and Customer Email. This consistency ensures the automation runs smoothly every time.
Step 2: Map and Format the Data
The data from Airtable is then parsed and mapped to the specific format required by the AfterShip API. This step involves extracting the tracking number, identifying the shipping carrier (like USPS, FedEx, DHL), and pulling the customer's contact information.
Step 3: Create the Notification in AfterShip
Using the formatted data, the workflow makes an API call to AfterShip to create a new tracking notification. AfterShip then takes over, sending automated emails or SMS updates to the customer as the package moves through the carrier's network.
Step 4: Handle Errors and Log Results
The final step involves error handling. If the API call fails—for instance, due to an invalid tracking number—the workflow can be set to notify your team via email or Slack. Successful actions are logged, giving you a clear audit trail of all automated notifications.
Who This Is For
This automation is ideal for small to medium-sized e-commerce businesses, DTC brands, and online retailers who use Airtable for order management or logistics tracking. It's perfect for:
- Shopify or WooCommerce sellers who export orders to Airtable for custom processing.
- Businesses using Airtable as a lightweight CRM or order hub alongside multiple sales channels.
- Teams looking to improve customer experience with proactive, automated shipping updates.
- Operations managers tired of copying and pasting tracking data between apps.
What You'll Need
To implement this workflow, you'll need a few accounts and a properly set up data source:
- A Make.com account (free or paid plan) to host and run the automation.
- An Airtable account with a base containing your order/tracking data.
- An AfterShip account with API access enabled.
- Your Airtable table must include, at minimum, these fields: Tracking Number, Carrier Name, and Customer Email.
- (Optional) Admin access to set up API connections between Make.com, Airtable, and AfterShip.
Quick Setup Guide
Follow these steps to get your automation live in under 30 minutes:
- Clone the Template: Click "Get This Workflow" and duplicate the scenario into your Make.com account.
- Connect Your Apps: In the Make.com scenario, authorize the connections to your specific Airtable base and your AfterShip account using API keys.
- Configure the Airtable Module: Point the "Watch Records" module to your exact table and view. Test it to ensure it can fetch a sample record.
- Map the Data Fields: In the AfterShip module, map the Airtable fields (tracking number, carrier, email) to the correct input fields for the AfterShip "Create Tracking" API.
- Test with a Single Run: Use the "Run Once" feature in Make.com. Add a test record to your Airtable and verify that a tracking notification appears in your AfterShip dashboard.
- Schedule and Activate: Set the scenario to run on a schedule (e.g., every 15 minutes) or use an Airtable webhook for real-time updates. Turn the scenario on.
Key Benefits
Save 5–10 hours per week on manual data entry. Eliminate the tedious task of transferring tracking information between systems. Your team can redirect this time to strategic work like customer service or marketing.
Reduce customer support inquiries about order status by up to 40%. Proactive, automated tracking updates answer the most common post-purchase question before customers even need to ask, dramatically decreasing ticket volume.
Achieve 100% accuracy in notification delivery. Remove the risk of human error from mistyped tracking numbers or missed emails. The automation ensures every valid record triggers a notification.
Improve customer satisfaction and trust. Timely communication is key to a positive post-purchase experience. Automated updates show customers you're organized and keep them informed, encouraging repeat purchases.
Gain a scalable process for business growth. This workflow handles 10 orders or 10,000 orders with the same efficiency. It grows with your business without requiring additional manual labor.