What This Workflow Does
For course creators and educators using Thinkific, manually adding each new student to an email marketing platform like ActiveCampaign is a tedious, error-prone task that wastes valuable time. This disconnect means students might miss crucial onboarding emails, course updates, or promotional offers, leading to lower engagement and completion rates.
This free Make.com automation template solves that problem by creating a seamless, real-time bridge between Thinkific and ActiveCampaign. Every time a new user signs up or enrolls in a course on your Thinkific site, this workflow instantly captures their details and creates a corresponding contact in your ActiveCampaign account. It ensures your marketing list is always up-to-date, allowing you to nurture students from the moment they join.
The automation handles the entire process behind the scenes. You set it up once, and it runs continuously, freeing you to focus on creating content and engaging with your community instead of managing spreadsheets and copy-pasting data.
How It Works
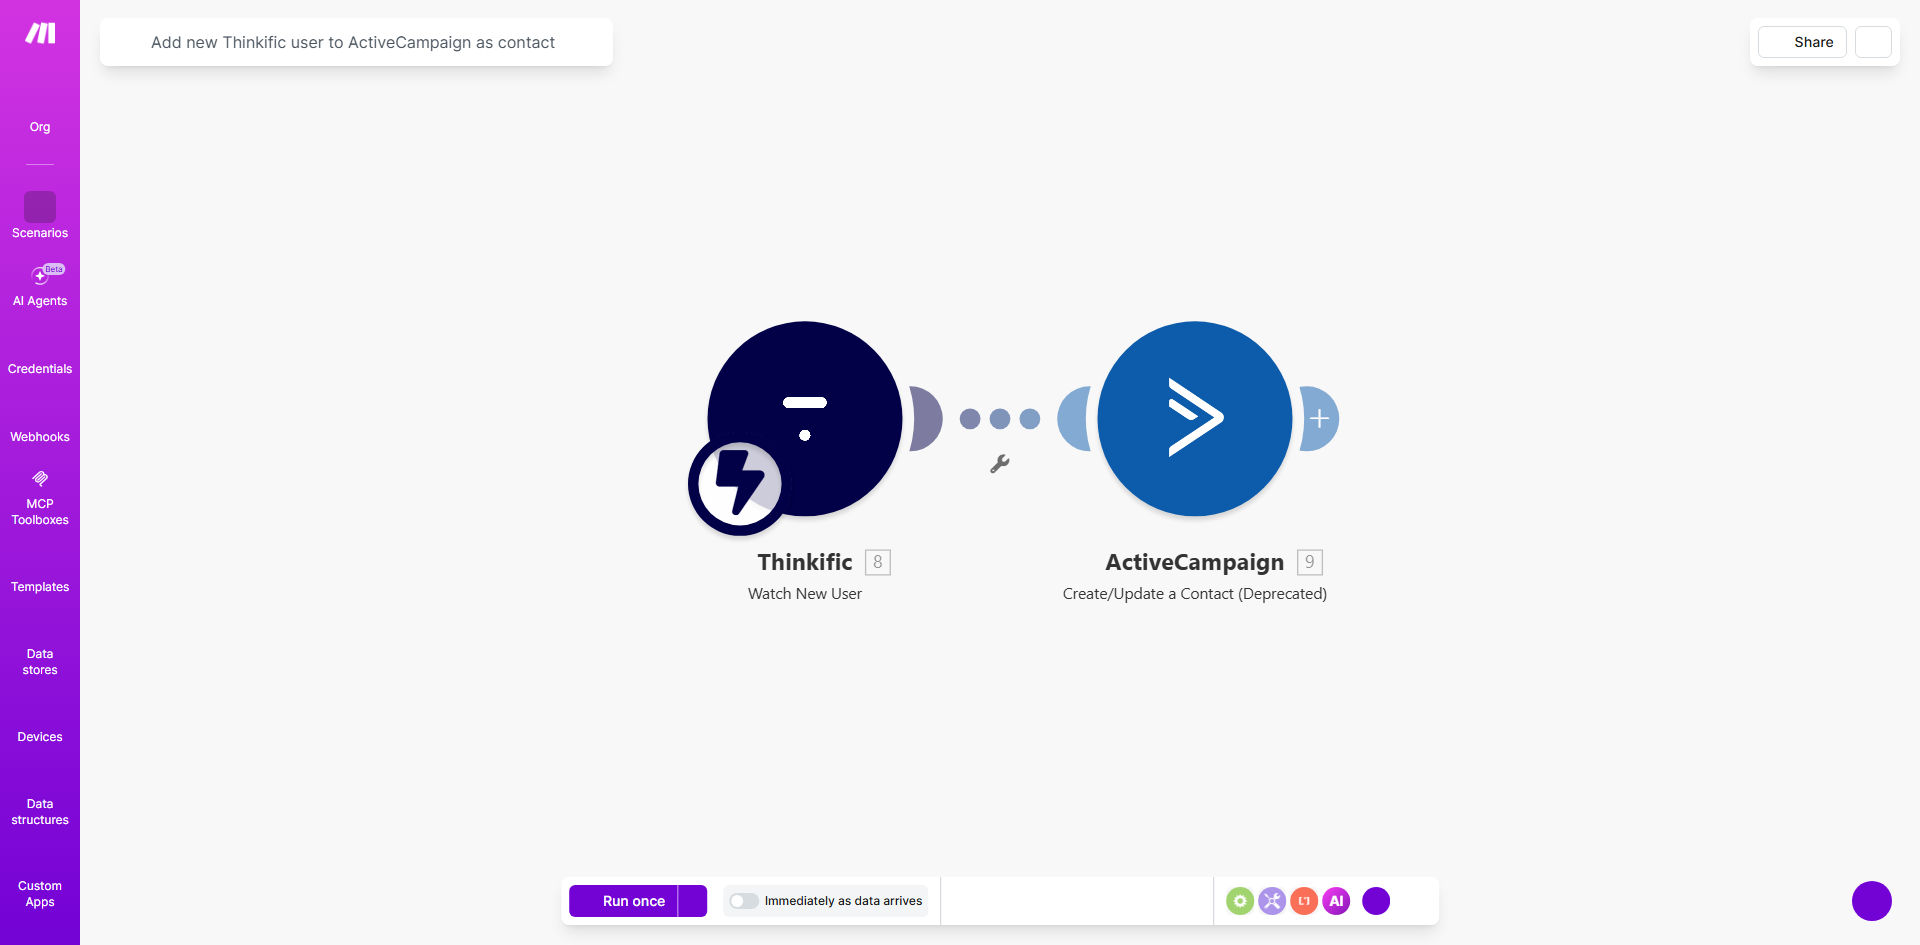
The workflow is a straightforward, three-step process that runs automatically in the cloud.
Step 1: Trigger on New Thinkific User
The automation is initiated by the "Watch Users" module in Make.com. It monitors your Thinkific account for any new user registrations. This trigger happens in real-time, so the moment a student completes signup, the workflow is activated.
Step 2: Map User Data
Make.com receives the new user's data from Thinkific, such as their full name, email address, and signup date. This step involves routing the information and formatting it to match the field requirements in ActiveCampaign. You can customize which data points are transferred.
Step 3: Create ActiveCampaign Contact
Finally, the workflow uses the "Create a Contact" module in ActiveCampaign. It sends the formatted student data to your specified ActiveCampaign list, instantly creating a new contact. You can also configure it to add tags (e.g., "Thinkific Student," "Course Name") or update custom fields during this step.
Pro tip: Enhance this workflow by adding a step to send a personalized welcome email from ActiveCampaign immediately after the contact is created. This creates a fantastic first impression and boosts open rates.
Who This Is For
This automation is a game-changer for any business or individual using Thinkific to host their online courses, memberships, or digital products. It's perfect for:
- Course Creators & Coaches: Who want to automatically nurture students with email sequences without manual list management.
- Small Education Businesses: That need to keep their student CRM (ActiveCampaign) perfectly synced with their learning platform.
- Marketing Teams: Managing Thinkific for their organization and require reliable, automated data flow into their marketing automation system.
- Anyone tired of manual exports/imports: If you're currently downloading CSV files from Thinkific and uploading them to ActiveCampaign, this workflow will save you hours per month.
What You'll Need
To use this template, you need a few accounts and permissions set up beforehand:
- A Thinkific account with administrative access to generate an API key.
- An ActiveCampaign account with access to your API credentials and at least one list to add contacts to.
- A Make.com account (free or paid plan). The free plan is sufficient to run this automation.
- Basic familiarity with navigating these platforms to locate API settings (we provide guidance below).
Quick Setup Guide
You can have this automation running in under 15 minutes by following these steps:
- Get the Template: Click the "Get This Workflow" button above to copy the template to your Make.com account.
- Connect Thinkific: In the Make.com scenario, click the Thinkific module. Create a new connection by entering your Thinkific domain and API key (found in Thinkific Settings > API).
- Connect ActiveCampaign: Click the ActiveCampaign module. Create a new connection using your ActiveCampaign account URL and API key (found in ActiveCampaign Settings > Developer).
- Configure the Data Mapping: Map the Thinkific user fields (like
user.emailanduser.full_name) to the corresponding ActiveCampaign contact fields. Select the ActiveCampaign list you want to add contacts to. - Test & Activate: Turn on the scenario and perform a test by creating a dummy user in Thinkific. Verify that the contact appears in your chosen ActiveCampaign list.
Key Benefits
Eliminate Manual Data Entry: Save 2-5 hours per week that you would otherwise spend exporting, formatting, and importing student lists. This time can be reinvested into course creation or student support.
100% Data Accuracy: Automated syncing removes the risk of human error—no more typos in email addresses, missed entries, or outdated information slipping through the cracks.
Faster Student Onboarding: New students are added to your email list instantly, allowing your ActiveCampaign welcome sequence to trigger immediately. This improves engagement and reduces early dropout rates.
Improved Segmentation & Marketing: With reliable data flowing in, you can create powerful segments in ActiveCampaign based on enrollment date or course, enabling hyper-targeted and effective email campaigns.
Scalable Foundation: This workflow provides a reliable backbone for your student management. As your course library and student base grow, the automation scales effortlessly without any additional effort from you.