What This Workflow Does
Planning a webinar or online conference involves numerous moving parts: scheduling, promotion, content preparation, and follow-up. Without automation, details from your webinar platform (ClickMeeting) must be manually copied into your project management tool (Trello), leading to delays, missed tasks, and communication gaps.
This workflow solves that by creating a seamless, automatic bridge between ClickMeeting and Trello. Every time you or a team member schedules a new conference in ClickMeeting, this automation instantly creates a corresponding card in your designated Trello board. The card is populated with key details like the conference title, description, start time, and link, turning a calendar event into an actionable project task for your marketing, sales, or operations teams.
The result is a unified system where event planning and task execution are intrinsically linked. Your team gains immediate visibility into new webinars, can start preparing right away, and ensures nothing falls through the cracks, all without a single manual copy-paste action.
How It Works
The automation is built on Make.com and operates on a simple trigger-action principle, ensuring reliability and speed.
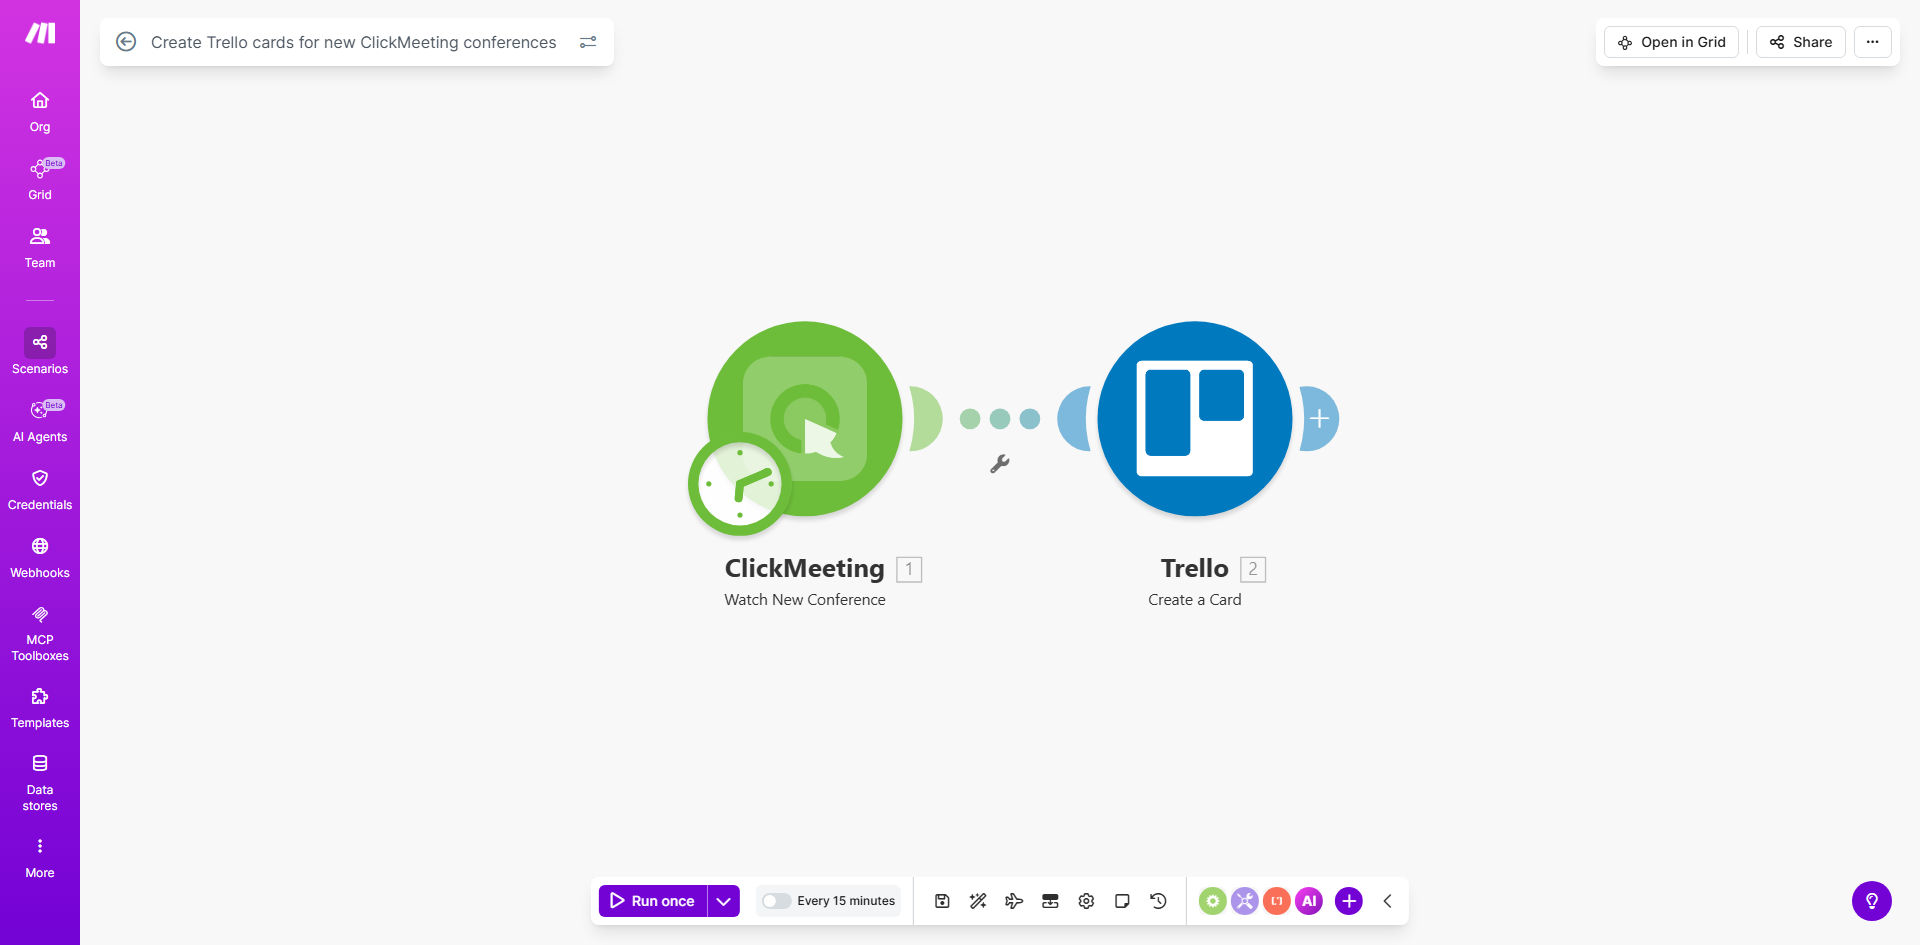
Step 1: Monitoring ClickMeeting for New Conferences
The workflow starts by watching your ClickMeeting account for the creation of new conferences. Using Make.com's ClickMeeting module, it acts as a real-time listener. The moment a conference is scheduled—whether it's a one-time webinar, a recurring series, or a team meeting—the automation captures the event and all its associated data.
Pro tip: You can filter this trigger to only watch for specific types of conferences (e.g., only "webinars" and not "meetings") to keep your Trello board clean and focused.
Step 2: Structuring the Data for Trello
Once the new conference data is captured, the workflow maps the relevant information into a format Trello understands. This typically includes pulling the conference name for the card title, the description for the card body, the start date and time, duration, and the unique joining URL. This step ensures the Trello card is informative and actionable from the moment it's created.
Step 3: Creating the Card in Your Trello Board
Finally, the workflow connects to your Trello account via Make.com and creates a new card in your specified board and list (e.g., a board named "Webinar Planning" and a list called "Upcoming"). You can configure it to add labels, assign the card to specific team members, set a due date based on the conference time, and even attach the ClickMeeting link. The card is now live, serving as the central hub for all pre- and post-event tasks.
Who This Is For
This automation is a game-changer for any business or team that relies on webinars and online meetings for marketing, sales, training, or client communication.
Marketing Teams: Streamline the launch of lead-generation webinars by instantly creating task cards for content creation, promo scheduling, and tech checks.
Sales Teams: Automatically turn scheduled product demos or client meetings into tracked tasks in a sales pipeline board, ensuring timely preparation and follow-up.
Education & Coaching Businesses: Manage class and workshop schedules by having each new session automatically appear as a card for material preparation and student communication.
Remote Teams: Keep all-hands meetings, training sessions, and planning workshops organized by having them instantly logged in the team's project management tool.
What You'll Need
- A Make.com account (free tier available). This is the automation platform that will run the workflow.
- A ClickMeeting account with existing conferences or plans to create new ones. You'll need API access, typically available in paid plans.
- A Trello account and a dedicated board where you want the conference cards to be created. You should know which specific list (e.g., "To Do," "Upcoming") to use.
- The API keys or OAuth connections for both ClickMeeting and Trello, which you will securely provide to Make.com during setup to establish the connection.
Quick Setup Guide
Follow these steps to get your automation live in under 15 minutes.
- Clone the Template: Click the "Get This Workflow" button above. This will copy the pre-built scenario into your Make.com account.
- Connect Your Apps: In the Make.com scenario editor, click on the ClickMeeting module and authorize it with your ClickMeeting account. Repeat the process for the Trello module, connecting it to your Trello workspace.
- Configure the Trigger: Select the specific ClickMeeting account you want to monitor. The trigger is usually set to "Watch Conferences" and will start polling for new events.
- Map the Data: In the Trello "Create a Card" module, choose your target Board and List. Then, map the data from ClickMeeting: insert the conference name into the card title, the description into the card body, and set the due date if desired.
- Test and Activate: Run a test by creating a dummy conference in ClickMeeting. Check if a card appears in your Trello board with the correct details. Once confirmed, turn on the scenario's schedule to let it run automatically.
Key Benefits
Eliminate 100% of manual data entry between your webinar and project tools. This saves each team member 15-30 minutes per event, time that can be reinvested in higher-value work like crafting engaging content or nurturing attendees.
Ensure zero communication delays about new events. The instant a conference is booked, a task is created. Your entire team sees it simultaneously, removing the lag and risk of someone being left off an email thread or missing a calendar invite.
Create a single source of truth for webinar execution. All tasks, discussions, and files related to a specific conference are centralized on its Trello card, eliminating scattered notes across emails, chats, and documents.
Scale your webinar program without adding administrative overhead. Whether you run 2 webinars a month or 20, the automation handles the logistical overhead consistently, allowing you to grow your event volume without proportionally increasing your planning time.
Improve preparation quality and attendee experience. With tasks clearly defined and assigned well in advance, your team is better prepared, leading to smoother, more professional events and higher satisfaction for your hosts and attendees.